Vegan Vanilla Ice Cream

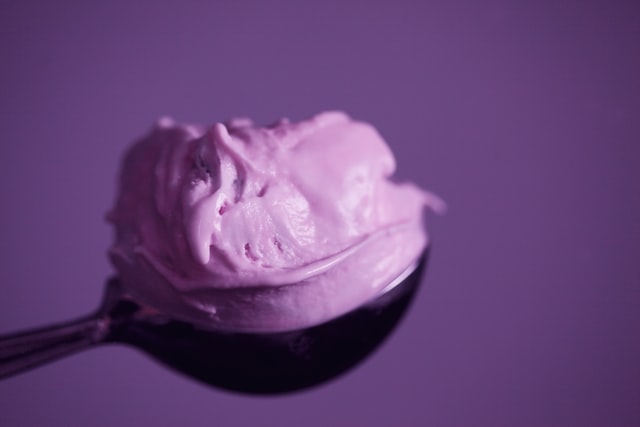
The dog days of summer are upon us, and with the damp, hot weather comes cravings for a late-august refresher. A nice scoop of ice cream always hits the spot, but the lactose found in dairy is a common stomach irritant. Plus, for those who adhere to a vegan diet, ice cream usually isn't on the menu.
That's why we're serving up a vegan, dairy free cashew and coconut based ice cream recipe from Jessica in the Kitchen that is unbelievably creamy and delicious. It's free of any yucky artificial ingredients and you won't believe how good it tastes.

Ingredients
- 1 cup raw cashews soaked in water overnight drained
- 2 cans of full fat coconut milk (two 13.4 ounce cans)
- 1 tablespoon vanilla bean paste or extract or 1 vanilla bean
- 2/3 cup cane sugar or other granulated sugar
- 1/2 teaspoon sea salt
Directions
- Ensure your cashews are completely soaked from before. Also ensure your ice cream maker freezer base is in the freezer for at least 7 to 24 hours before (preferably 24 hours) . If you just keep it in your freezer, then it’s always ready!
- In a high speed blender, blend the soaked cashews, coconut milk, vanilla bean paste, cane sugar and the sea salt together until completely smooth, about 2-4 minutes on high speed depending on your blender. You want to ensure it’s 100% smooth, so feel free to blend longer until you’re sure all the cashews are blended out. If that means you need to blend longer, definitely blend until fully smooth.
- Pour mixture into a bowl, container or leave in the blender and cover. Sometimes the mixture can get hot while blending. Place it in the fridge for 4 hours in the coldest spot, up to 2 days if you don't plan to make the ice cream immediately.
- Remove from the fridge. Set up your ice cream machine and place the ice cream maker freezer base into the machine and pour the ice cream mixture in. Prepare according to manufacturer settings, for about 20-25 minutes of churning. The mixture should be thick and smooth. If you're not using an ice cream maker, check out my chocolate avocado post for no churn instructions.
- Scoop the soft serve ice cream into a container (I use a loaf pan) and smooth down. Place plastic wrap or a reusable wrap or parchment or wax paper flat against the ice cream, then wrap the outside of the pan too. You want to ensure it's all protected from ice crystals. Place in the freezer for at least 4 hours to set up, even overnight if you desire. You can also enjoy it immediately like soft serve!
- After at least 4 hours in the freezer, remove container from freezer and allow it to sit for at least 5 minutes on the counter (like you would store bought ice cream). Scoop, serve and enjoy!


